How to Prep Surfaces After Pressure Washing Before Painting: Essential Steps for Effective Surface Preparation
By Esteem Painting Team, Esteem Painting LLC
Preparing surfaces after pressure washing is crucial for achieving a flawless paint job. This process ensures that the paint adheres properly, enhancing durability and appearance. In this guide, we will explore the essential steps for effective surface preparation, focusing on drying times, cleaning methods, and the importance of sanding. By understanding these key elements, you can avoid common pitfalls and ensure your surfaces are ready for painting. We will also discuss how to select and apply primer effectively, ensuring a smooth finish that lasts.
Essential Steps for Pre-Painting Surface Preparation
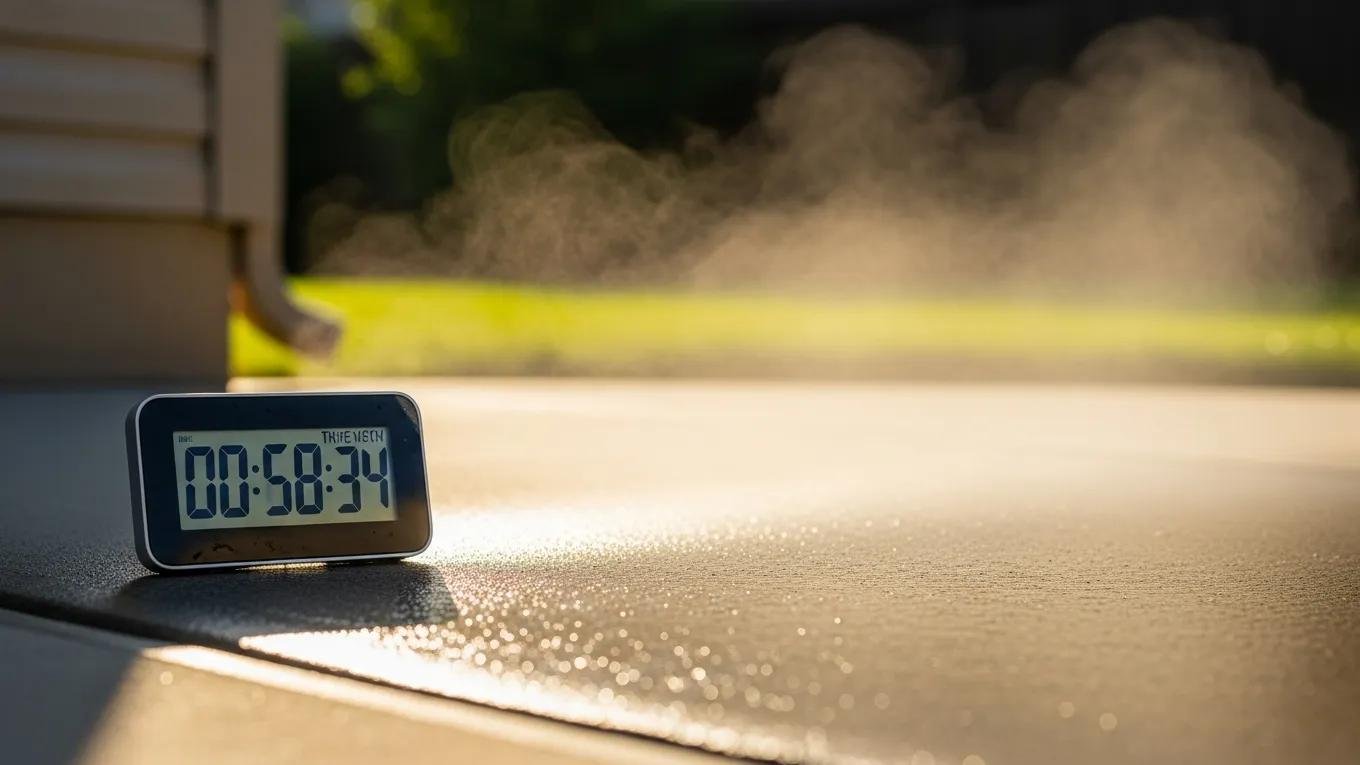
After pressure washing, allowing surfaces to dry is a critical step in the preparation process. The mandatory drying period typically ranges from 24 to 48 hours, depending on environmental conditions. This time frame is essential to prevent moisture from being trapped under the paint, which can lead to peeling and blistering. Ensuring complete drying is vital for optimal paint adhesion, as moisture can compromise the integrity of the paint layer.
Factors Affecting Drying
Several factors can influence the drying time of surfaces after pressure washing. Humidity levels and temperature play significant roles in how quickly surfaces dry. Ideally, humidity should be below 50%, and the temperature should range between 50 to 90 degrees Fahrenheit for optimal drying conditions. Understanding these factors can help you plan your painting project more effectively, ensuring that surfaces are adequately prepared before applying paint.
Using Moisture Meters
To ensure that surfaces are dry enough for painting, using moisture meters is highly recommended. These devices help check wood surfaces for moisture content, which should be below 15% for optimal results. By testing moisture levels, you can avoid issues such as blisters caused by trapped gases, ensuring a smooth and durable paint finish. Moisture testing is a simple yet effective way to confirm that your surfaces are ready for the next steps in the painting process.
Cleaning Methods to Remove Residues
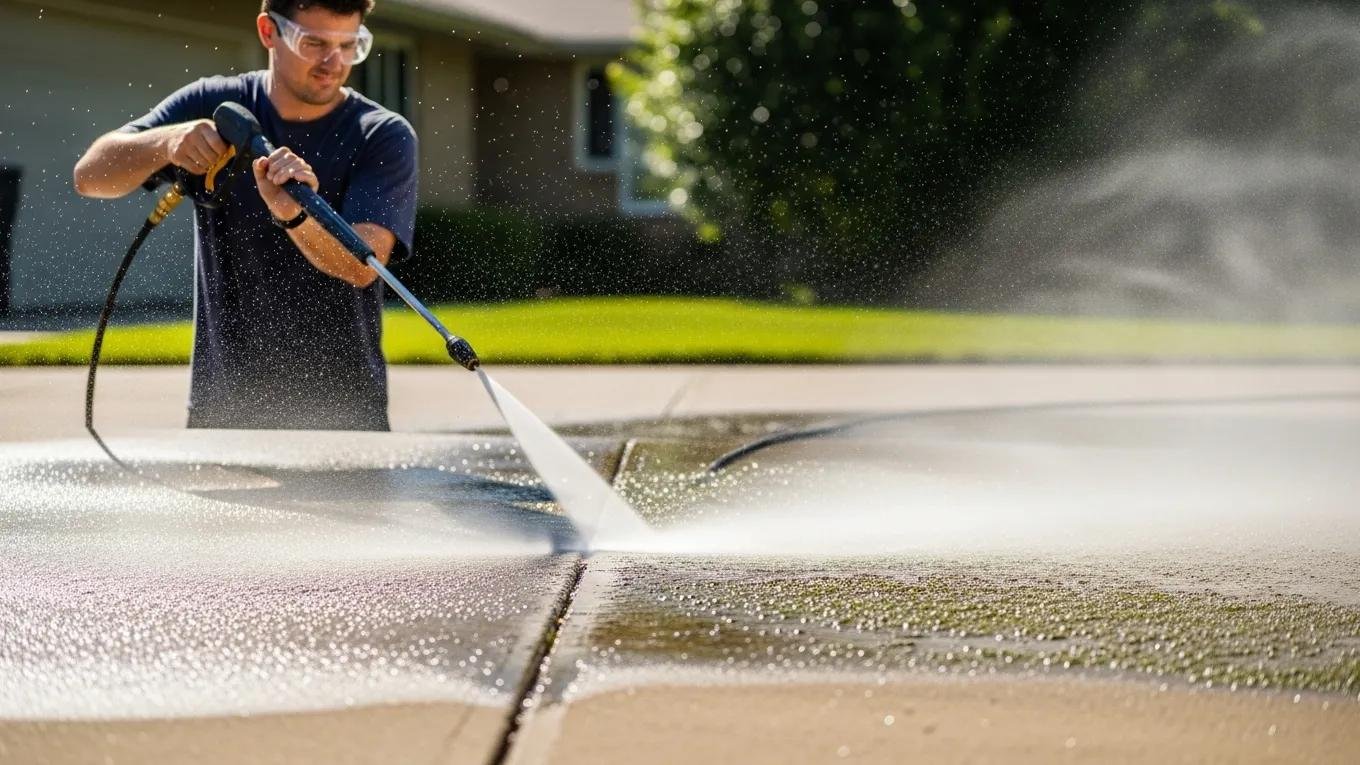
Effective cleaning methods are essential for removing any residues left after pressure washing. A two-step cleaning process is often recommended, which includes using suitable cleaning agents followed by thorough rinsing. This approach ensures that all dirt, grime, and cleaning agents are completely removed, providing a clean surface for painting. Rinsing is particularly important, as any leftover residues can interfere with paint adhesion and lead to an uneven finish.
Eco-Friendly Cleaning Agents for Mildew
When dealing with mildew, eco-friendly cleaning agents can be an effective solution. A common method involves using a bleach solution, typically one part bleach to ten parts water, to target mildew spores at the root. This approach not only cleans the surface but also addresses moisture sources that contribute to mildew growth. By opting for eco-friendly solutions, you can maintain a safe environment while effectively preparing your surfaces for painting.
Inspecting Surfaces for Remaining Dirt and Contaminants
After cleaning, it’s crucial to inspect surfaces for any remaining dirt and contaminants. Visual inspection techniques can help identify areas that may need further cleaning. Additionally, performing a touch test for grit or stickiness can provide insight into surface readiness. A water test, where water beads up instead of soaking in, can also indicate that the surface is not adequately prepared. These inspection methods ensure that your surfaces are clean and ready for paint application.
Do you need to sand surfaces after pressure washing before painting?
Sanding surfaces after pressure washing is often necessary to ensure proper paint adhesion. This process creates a mechanical tooth that enhances the bond between the paint and the surface. Sanding is particularly important for glossy surfaces, old paint layers that need deglossing, and any surface imperfections that should be smoothed out. By addressing these issues, you can significantly improve the overall quality of your paint job.
When is sanding necessary for surface smoothing?
Sanding becomes necessary under specific conditions. Glossy surfaces, for instance, require sanding to create a texture that allows paint to adhere effectively. Additionally, old paint layers may need deglossing to ensure that the new paint bonds properly. Surface imperfections, such as bumps or rough spots, should also be smoothed out through sanding to achieve a flawless finish. Recognizing these conditions can help you determine when sanding is essential for your project.
What sanding techniques improve paint adhesion?
To improve paint adhesion, employing the right sanding techniques is crucial. Using appropriate grit for sanding is essential; finer grits are suitable for smoothing surfaces, while coarser grits can help remove old paint. Additionally, managing dust during sanding is vital to prevent it from settling on the surface. Thorough cleaning after sanding is also necessary to remove any dust particles that could interfere with paint adhesion. These techniques collectively enhance the quality of your paint application.
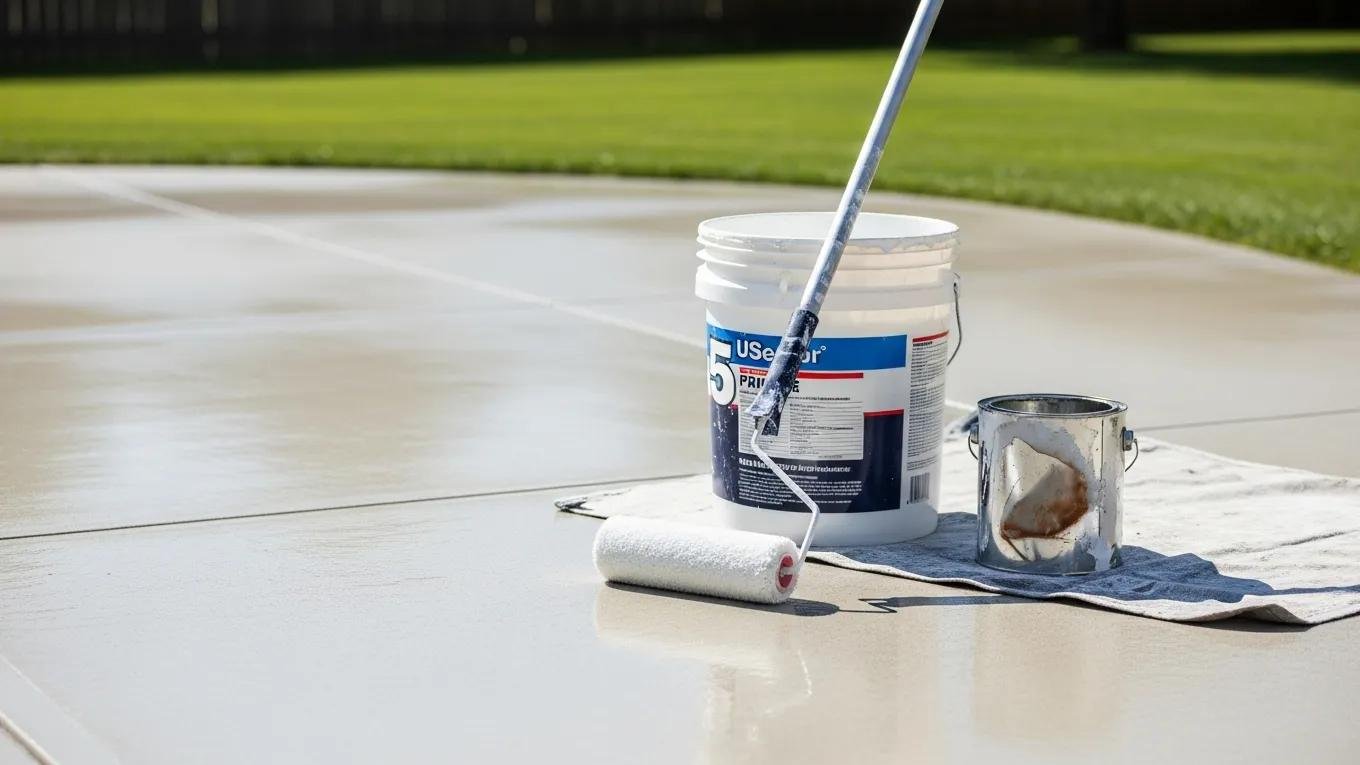
How to select and apply primer after pressure washing?
Selecting and applying primer correctly is a vital step in the painting process. The right primer can significantly impact the final appearance and durability of the paint. Different types of primers are available for various surfaces, and understanding these options is essential. Surface preparation before priming is also crucial, as it ensures that the primer adheres properly and provides a solid foundation for the paint. Application techniques for even coverage are equally important, as they contribute to a professional-looking finish.
Which primers work best on washed surfaces?
When selecting primers for washed surfaces, bonding primers are often the best choice for slick surfaces, as they enhance adhesion. Stain-blocking primers are ideal for surfaces that have experienced water damage, preventing stains from bleeding through the paint. For health-conscious environments, zero-VOC options are available, providing a safer alternative without compromising performance. Understanding these primer characteristics can help you choose the right product for your specific needs.
What are the steps for proper primer application?
Proper primer application involves several key steps to ensure an even and effective coat. First, evaluate the surface to determine the appropriate primer type. Next, choose the right primer based on the surface material and condition. Finally, apply the primer using techniques that promote even coverage, such as using a roller or brush in consistent strokes. Following these steps will help achieve a smooth and durable base for your paint, enhancing the overall quality of your project.