Final Inspection Checklist After Painting Projects: Essential Painting Project Inspection Checklist for Quality Assurance and Final Walk Through Painting
By Esteem Painting Team, Esteem Painting LLC
Completing a painting project is a significant achievement, but ensuring the quality of the work is equally important. A final inspection checklist serves as a vital tool to guarantee that every aspect of the project meets the expected standards. This article will guide you through the essential steps of a final inspection, helping you identify potential issues and ensuring a successful walk-through. By understanding the key components of a final inspection checklist, you can avoid common pitfalls and ensure that your painting project is completed to perfection. We will cover the key steps in the inspection process, items to include in a punch list, how to identify paint defects, optimal conditions for inspection, and post-inspection actions.
The importance of a thorough final inspection, including quality assurance and control, is widely recognized in the industry.
Final Paint Inspection: QA/QC & Inspector Sign-off
Requiring quality assurance (QA) or quality control (QC) inspections of the week with a final completed copy (signed by the inspector) at the
Minimum Requirements for Specified Inspection, 2025
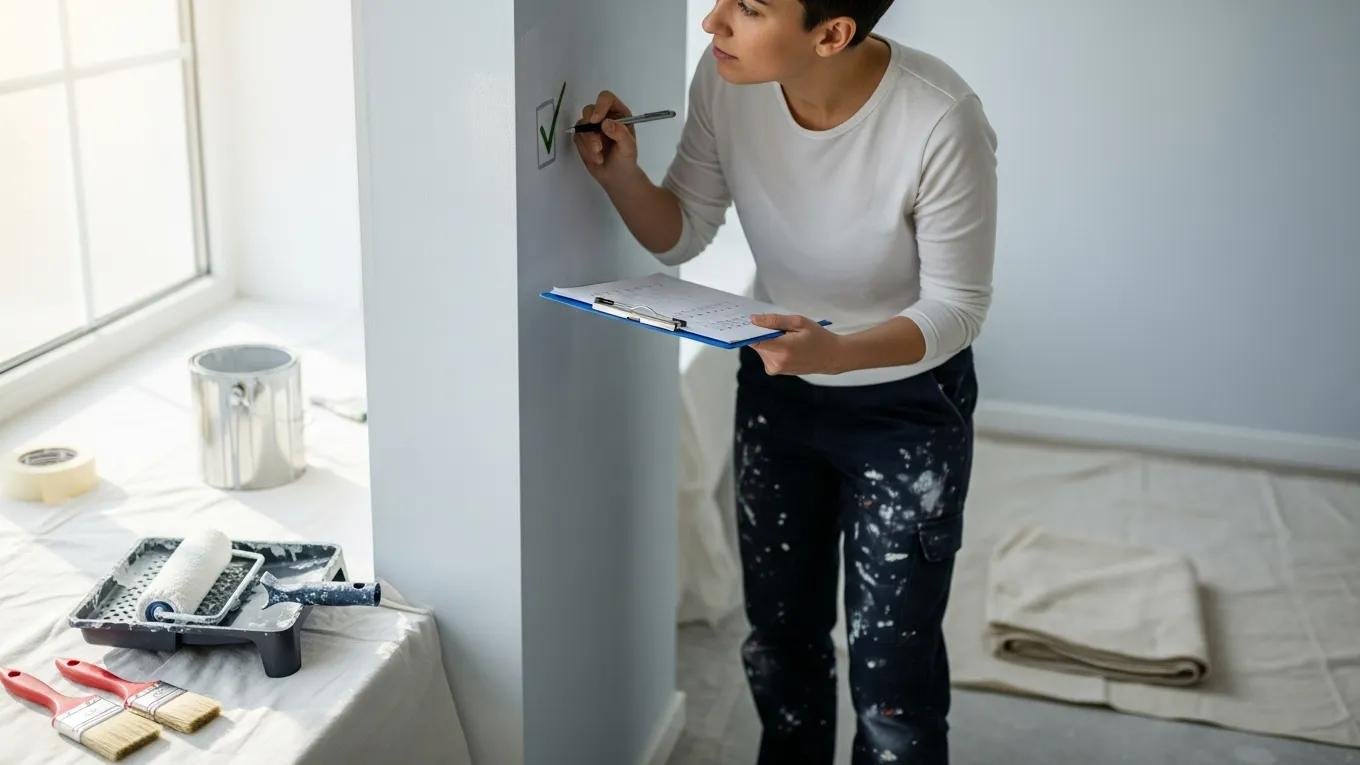
What Are the Key Steps in a Painting Project Final Inspection Checklist?
A final inspection checklist is crucial for ensuring that all aspects of a painting project are completed satisfactorily. The key steps in this process include:
Such checklists are fundamental for systematically verifying quality parameters throughout the project.
Painting Quality Assurance with Inspection Checklists
A step-by-step guide to check these quality parameters in the format of inspection checklists
Development of Quality Assurance Specifications for Bridge Painting Contracts, 1992
- Clear the Area for Inspection: Ensure that the space is free of obstructions, allowing for a thorough examination of the painted surfaces.
- Identify Specific Concerns: Take note of any areas that may require special attention, such as corners, edges, or areas with heavy wear.
- Schedule the Walk-Through: Coordinate with all relevant parties, including contractors and clients, to ensure everyone is present for the final inspection.
How to Prepare for the Final Walk Through Painting Inspection?
Preparing for the final walk-through inspection involves several important steps:
- Remove Obstructions: Clear furniture and other items from the area to allow for easy access to all surfaces.
- Document Concerns: Make a list of any issues or areas of concern that need to be addressed during the inspection.
- Coordinate with Contractors: Ensure that all contractors are available for the inspection to address any immediate concerns.
Common Pitfalls to Avoid
During the final inspection, it’s essential to avoid common mistakes that can lead to oversights:
- Rushing the Inspection: Take your time to thoroughly examine all areas; rushing can lead to missed defects.
- Ignoring Minor Issues: Small problems can escalate if not addressed, so pay attention to every detail.
- Not Documenting Concerns: Failing to record issues can result in unresolved problems later on.
Which Items Should Be Included in a Painting Punch List?
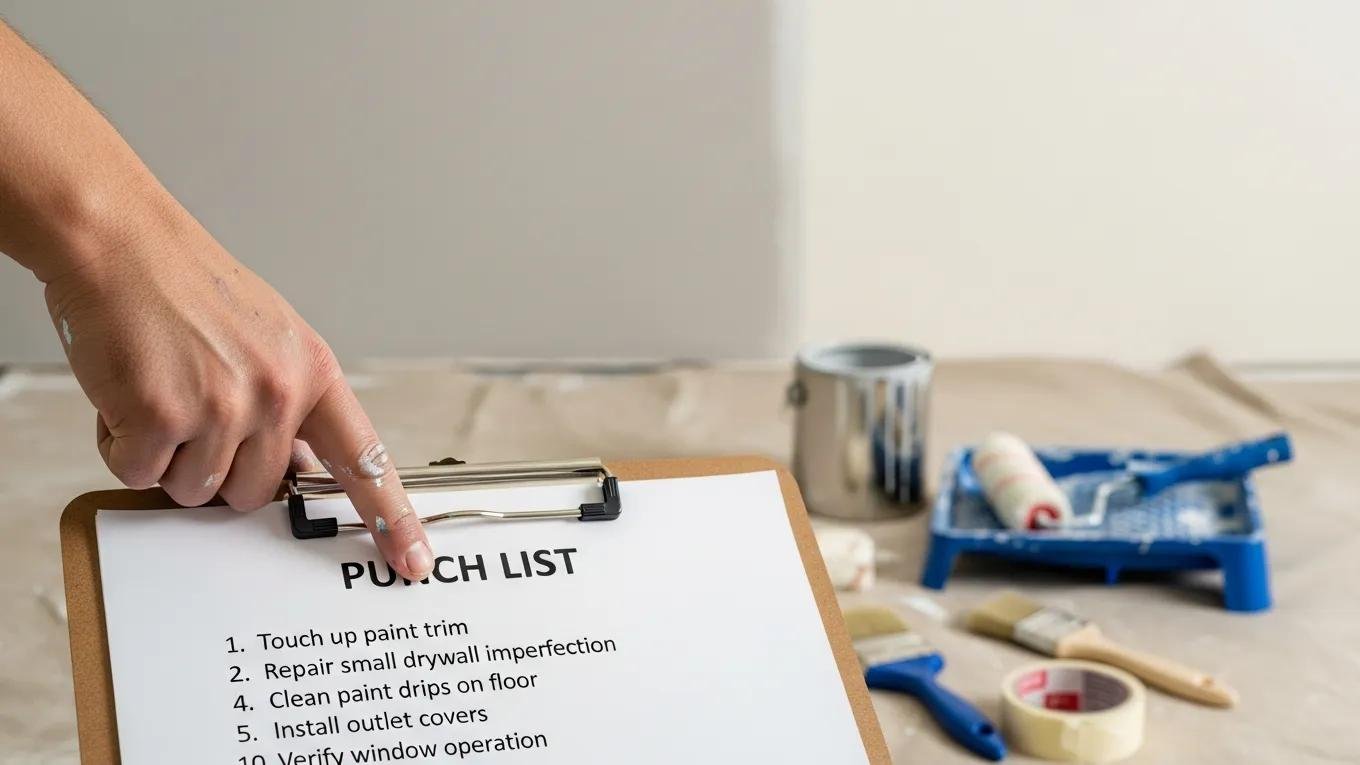
A punch list is a critical component of the final inspection process, detailing items that need to be completed or corrected. Key items to include in a punch list are:
- Touch-Up Areas: Identify spots that require additional paint or correction.
- Surface Imperfections: Note any visible defects such as drips, runs, or uneven coverage.
- Final Clean-Up Tasks: Ensure that all areas are cleaned and free of debris after the painting is completed.
How to Identify and Classify Common Paint Defects During Final Review?

Identifying and classifying paint defects is essential for maintaining quality control. Common paint defects include:
Advanced methodologies are continually being developed to enhance the identification and classification of these defects, ensuring higher quality assurance.
Identifying & Classifying Paint Defects for Quality Assurance
We propose a hybrid methodology that not only identifies known defects but also provides paint defects on vehicles using image datasets and a ResNet-based model. Our methodology
Investigating the Potential of Latent Space for the Classification of Paint Defects, D Almhaithawi, 2025
- Blistering: Caused by trapped moisture or improper application, leading to bubbles in the paint.
- Cracking: Often results from paint drying too quickly or applying too thick a coat.
- Uneven Coverage: Can occur due to inconsistent application techniques or inadequate surface preparation.
What Are the Most Frequent Paint Defects and Their Causes?
Understanding the most frequent paint defects and their causes can help in preventing them in future projects. Here are some common defects:
How to Use Inspection Tools to Detect Paint Defects?
Utilizing inspection tools can enhance the effectiveness of your final review. Some essential tools include:
- Moisture Meters: Measure moisture levels in surfaces to prevent blistering.
- Gloss Meters: Assess the sheen of the paint to ensure uniformity.
- Visual Inspection Techniques: Regularly check surfaces under different lighting conditions to identify defects.
When Is the Best Time and What Environmental Conditions Are Ideal for Final Paint Inspection?
The timing and environmental conditions during a final paint inspection significantly influence the quality of the review. Ideal conditions include:
- Temperature Range: Conduct inspections when temperatures are between 50°F and 90°F for optimal paint performance.
- Humidity Levels: Aim for humidity levels below 70% to prevent moisture-related defects.
- Lighting Conditions: Ensure adequate lighting to reveal any imperfections in the paint job.
How Does Paint Curing Time Affect Inspection Timing?
Understanding paint curing time is crucial for scheduling inspections effectively. Generally, paint requires:
- Curing Timeframes: Allow at least 24-48 hours for paint to cure before inspection.
- Effects on Inspection Quality: Inspecting too early can lead to misjudgments about the paint’s final appearance.
- Best Practices for Timing: Schedule inspections after the recommended curing period to ensure accurate assessments.
What Environmental Factors Influence Paint Quality and Inspection Accuracy?
Several environmental factors can impact paint quality and the accuracy of inspections:
- Temperature Fluctuations: Rapid changes can affect drying times and adhesion.
- Humidity Effects: High humidity can lead to moisture-related defects.
- Lighting Considerations: Insufficient lighting can obscure defects, making them harder to identify.
What Are the Post-Inspection Actions and Documentation Practices for Painting Projects?
After completing the final inspection, several actions and documentation practices should be followed:
- Documenting Inspection Results: Create a detailed report of findings, including photographs and notes on any issues.
- Creating Effective Reports: Use a clear structure to present findings, making it easy for all parties to understand.
- Follow-Up Maintenance Steps: Schedule any necessary touch-ups or repairs based on the inspection results.
How to Document Inspection Results and Create Effective Reports?
Effective documentation is key to ensuring that all parties are informed of the inspection results. Consider the following practices:
- Importance of Documentation: Accurate records help track issues and resolutions.
- Report Structure: Organize reports by categories, such as defects, recommendations, and follow-up actions.
- Using Photos and Notes: Include visual evidence to support findings and recommendations.
What Maintenance Steps Should Follow the Final Paint Job Review?
Post-inspection maintenance is crucial for preserving the quality of the paint job. Recommended steps include:
- Regular Inspections: Schedule periodic checks to identify any emerging issues.
- Touch-Up Painting: Address minor defects promptly to maintain appearance.
- Preventive Measures: Implement strategies to protect painted surfaces from damage.